
Maintaining a healthy and well-kept lawn requires regular upkeep of your lawn mower, and one crucial aspect is ensuring the blades are sharp. Dull mower blades can tear grass rather than cleanly cutting it, leading to an unhealthy lawn. Sharpening your lawn mower blades is a relatively simple task that can significantly improve the efficiency and effectiveness of your mower. In this guide, we’ll walk you through the step-by-step process of sharpening lawn mower blades to help you achieve a pristine lawn.
How often do you sharpen the lawn mower blade?
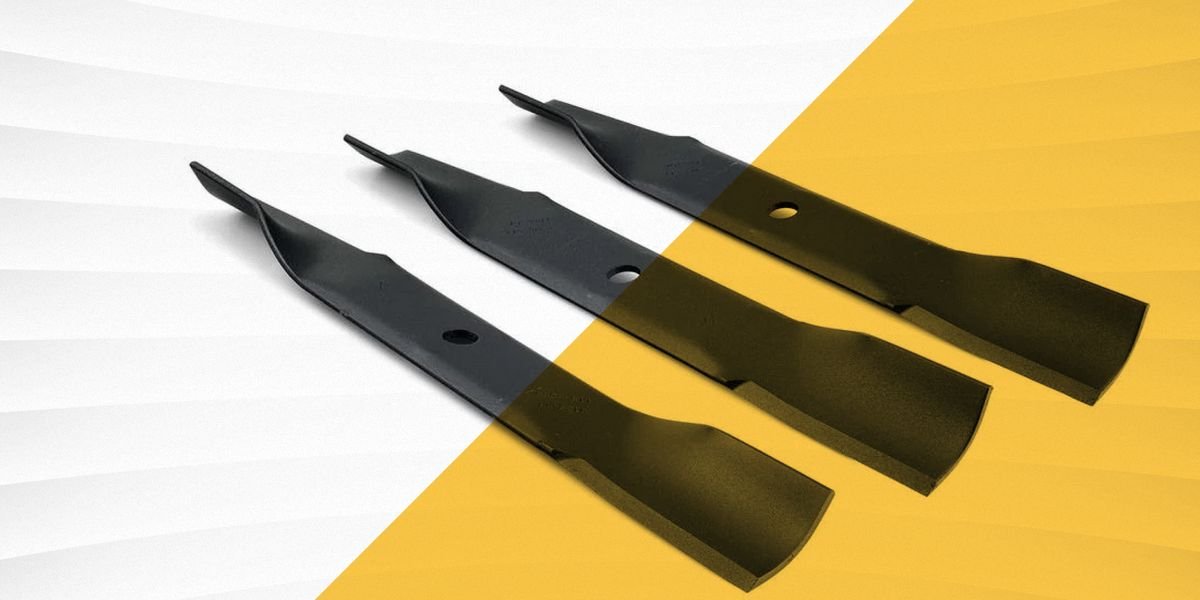
Only when the blade on the lawn mower is really sharp will the device cut the grass tips off precisely. The result is an even cutting pattern.
However, regular use, small sticks and stones will dull the knife over time. As a result, the lawn mower blade no longer cuts the grass properly. Instead, it chops off the stalks. The interfaces fray badly. This will dry them out and discolor them.
It is best to sharpen the knife at least once a year. The beginning of the season is ideal for this.
Let a professional sharpen your lawn mower blade
Anyone who does not dare to sharpen the lawn mower blade themselves can simply take the entire lawn mower to a specialist workshop for maintenance – sharpening or replacing the blade is usually included. Alternative: Let a sharpening professional do it: scissor and knife sharpening shops, tool manufacturers and also hardware stores and garden centers offer sharpening for little money. In this case, however, you have to do the installation and removal of the lawnmower blade yourself.
How to sharpen a lawnmower blade yourself?
If you have a little practice and the right tools, you can sharpen the lawn mower blade yourself. Unlike kitchen knives, the coarse blades of the mower are less sensitive and do not need to be sharpened to a razor edge. Straightening the cutting surface and restoring the cutting angle are completely sufficient here. Compared to household knives, the steel of the lawnmower blade is rather soft so that it does not splinter when it hits a stone. Therefore, the knife can be easily sharpened by hand. Deep nicks in the cutting edge that lead to such minor accidents do not have to be completely removed.
Attention: If you sharpen your knife yourself, the manufacturer’s guarantee on the knife will usually also expire. However, this is only effective for a very short time on wearing parts. However, for new lawn mowers, first read through the warranty conditions before you do anything yourself!

Positive of Sharpening Lawn Mower Blades
- Improved Cutting Performance: Sharpened blades result in cleaner cuts, promoting healthier grass growth.
- Increased Efficiency: A sharp blade reduces the amount of effort and time required to mow the lawn.
- Cost Savings: Regularly sharpening mower blades extends their lifespan, reducing the need for frequent replacements.
- Better Fuel Efficiency: Sharp blades reduce resistance, leading to improved fuel efficiency during mowing.
- Enhanced Aesthetic Appeal: A well-maintained mower produces a neater, more uniform lawn appearance.
Negative of Sharpening Lawn Mower Blades
- Safety Risks: Handling sharp blades requires caution to avoid cuts or injuries.
- Time and Effort: Sharpening blades can be time-consuming, especially for beginners or those unfamiliar with the process.
- Equipment Requirement: Depending on the sharpening method chosen, additional equipment such as files or grinders may be necessary.
- Potential Damage: Incorrect sharpening techniques or over-sharpening can weaken the blade or alter its balance, leading to potential mower damage or safety hazards.
Step 1: Safety Precautions

Before diving into any maintenance work on your lawn mower, prioritizing safety is paramount. Here are some crucial safety precautions to adhere to:
- Disconnect the spark plug wire to prevent accidental starting.
- Wear heavy-duty gloves to protect your hands from sharp edges.
- Use eye protection to shield your eyes from debris.
- Ensure the mower is on a flat, stable surface.
Step 2: Remove the Blade

- Locate the mower blade beneath the deck.
- Depending on your mower type, you may need to use a wrench or socket set to loosen the bolt or nut securing the blade.
- Carefully remove the bolt/nut and any washers holding the blade in place.
- Note the orientation of the blade, as it will need to be reinstalled correctly.
Step 3: Clean the Blade
- Use a wire brush or steel wool to remove any dirt, grass clippings, or rust from the blade.
- Wipe the blade clean with a cloth soaked in soapy water or a mild solvent to remove any remaining debris.
- Inspect the blade for any signs of damage, such as cracks or bends. If the blade is severely damaged, it may need to be replaced rather than sharpened.
Step 4: Sharpen the Blade

- Choose the appropriate sharpening tool. Options include a bench grinder, angle grinder, or handheld file. For beginners, a handheld file is often the safest and easiest option.
- Secure the blade in a vise to prevent it from moving during sharpening. Ensure the blade is positioned at the correct angle for sharpening.
- Begin sharpening the cutting edge of the blade, maintaining a consistent angle. If using a file, work in smooth, even strokes along the edge of the blade. If using a grinder, lightly touch the blade to the grinding wheel, moving from one end to the other.
- Repeat the sharpening process on the opposite edge of the blade if it has a double bevel.
- Check the sharpness of the blade periodically by lightly running your finger along the edge. Be cautious not to cut yourself.
Step 5: Balance the Blade (Optional but Recommended)

- Balancing the blade ensures smooth operation and prevents vibration, which can damage the mower.
- Place a nail or screwdriver through the center hole of the blade and suspend it horizontally. The blade should remain level. If one side dips, it indicates imbalance.
- To correct imbalance, remove material from the heavier side of the blade using a file or grinder. Continue checking until the blade is balanced.
Step 6: Reinstall the Blade

- Once the blade is sharp and balanced, carefully reattach it to the mower deck in the correct orientation.
- Replace any washers and securely tighten the bolt/nut, ensuring it is torqued to the manufacturer’s specifications.
- Double-check that the blade is properly aligned and securely fastened.
Step 7: Test the Mower
- Reconnect the spark plug wire.
- Start the mower and let it run for a few minutes to ensure everything is functioning correctly.
- Test the mower on a small patch of grass to ensure the blade cuts cleanly and efficiently.
Conclusion
Regular maintenance, including sharpening the lawn mower blades, is essential for maintaining a healthy lawn and ensuring the longevity of your mower. By following the steps outlined in this guide and considering the pros and cons, you can sharpen your lawn mower blades safely and effectively. Remember to prioritize safety at all times and consult your mower’s manual for specific instructions and recommendations. With sharp blades and proper maintenance, you’ll be well-equipped to tackle lawn care tasks with ease.