

Welcome to our DIY planter extravaganza! Elevate your indoor gardening game with these five ingenious creations. From upcycled household items to artistic masterpieces, we’ve got something for every green thumb. Get ready to unleash your creativity and add a personal touch to your indoor oasis with these unique DIY planters!
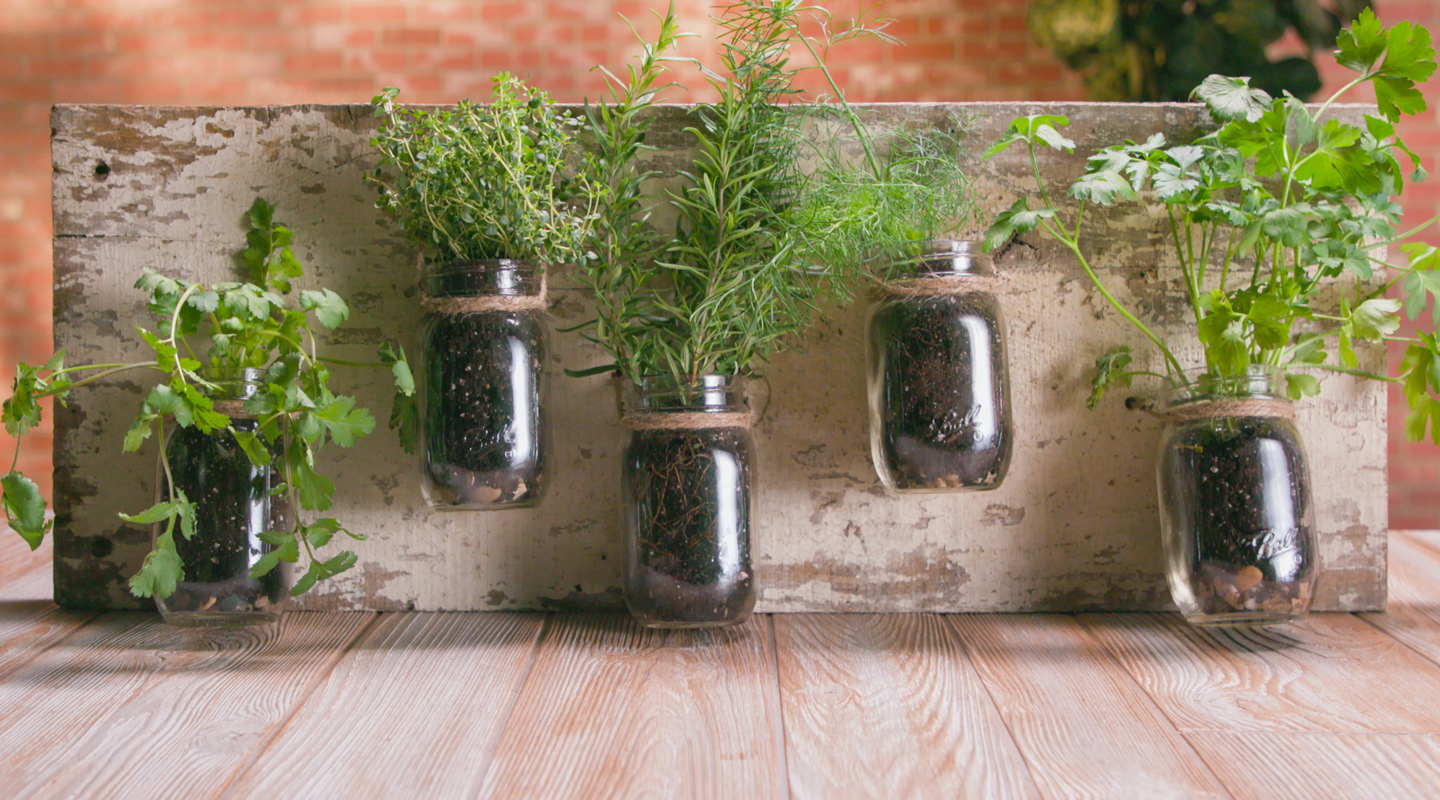
Mason Jar Herb Garden
Transform your kitchen into a fresh herb haven with a DIY Mason jar herb garden! Discover how to easily cultivate your favorite culinary herbs right on your windowsill. Embrace the joy of homegrown flavors and aromatic greens in this simple yet rewarding indoor gardening project.

Steps to Follow
- Prepare Your Mason Jars:
- Ensure your Mason jars are clean and dry before starting. Remove any labels or residues.
- If desired, you can paint or decorate the Mason jars to match your kitchen decor. Let them dry completely before proceeding.
- Fill the Jars with Soil:
- Add potting soil to each Mason jar, leaving about an inch of space at the top to accommodate watering.
- Plant Your Herbs:
- If using seeds, follow the instructions on the seed packet for planting depth and spacing.
- If using seedlings, gently remove them from their nursery pots and plant them in the center of each Mason jar.
- Water Your Herbs:
- Water the newly planted herbs until the soil is evenly moist but not waterlogged.
- Check the moisture level regularly and water when the top inch of soil feels dry to the touch.
- Provide Adequate Light:
- Place your Mason jar herb garden in a sunny spot where your herbs can receive at least 6-8 hours of sunlight per day. A south-facing window is ideal.
- If natural light is limited, consider supplementing with grow lights to ensure healthy growth.
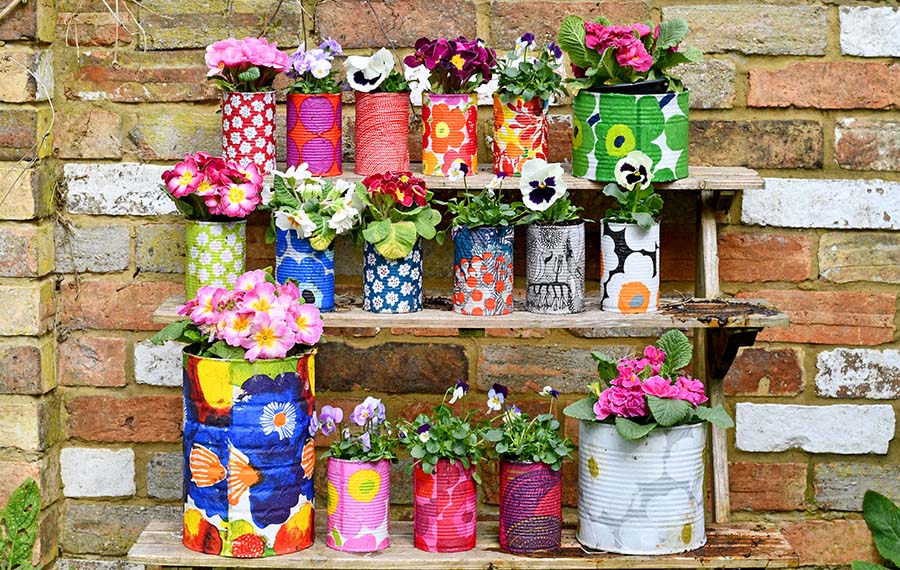
Upcycled Tin Can Planter
Up cycling is a great way to use your resources to their maximum potential, and save the environment at the same time. This upcycled tin can planter idea is a great way to add a pop of colour to your indoor gardening and decorate your planting area at the same time.

Steps to Follow
- Prepare the Tin Cans:
- Ensure the tin cans are thoroughly cleaned and dry.
- Remove any labels or stickers from the cans. You can use warm, soapy water to help loosen stubborn residue.
- If there are any sharp edges on the cans, carefully file them down with sandpaper to prevent injuries.
- Paint the Tin Cans:
- Set up a well-ventilated area or work outside.
- Shake the spray paint cans well before use. Hold each tin can about 6-8 inches away from the spray paint nozzle.
- Apply an even coat of paint to the exterior of the tin cans. You may need to apply multiple coats for full coverage, allowing each coat to dry completely before applying the next.
- Let the paint dry.
- Drill Drainage Holes (if Necessary):
- If your tin cans do not already have drainage holes, you’ll need to create them to prevent waterlogging of the plants’ roots.
- Place the tin can on a stable surface.
- Use a drill with a small drill bit to carefully create several drainage holes in the bottom of each tin can.
- Alternatively, if you don’t have a drill, you can use a hammer and nail to punch holes in the bottom of the cans.
- Planting:
- Fill each tin can with potting soil, leaving some space at the top for the plants.
- Gently remove the small plants from their nursery containers and plant them in the tin cans.
- If using seeds, follow the instructions on the seed packets for planting depth and spacing.
- Displaying the Upcycled Tin Can Planters:
- Hang them: Use twine, rope, or wire to create hanging planters. You can hang them from hooks attached to a wall, ceiling, or balcony railing.
- Arrange them on a windowsill: Line up the tin can planters on a sunny windowsill to create a charming indoor garden display.
- Cluster them together: Arrange the tin can planters in groups on a tabletop or shelf for a visually appealing arrangement.
Succulent Cork Planters
Discover the charm of succulent cork planters! In this guide, explore how to repurpose wine corks into adorable miniature planters, adding greenery and eco-friendliness to your space. Let’s embark on a creative journey!

Steps to Follow
- Prepare the Corks:
- Start by thoroughly cleaning the wine corks to remove any residue.
- Using a small knife or a sharp object, carefully hollow out the center of each cork to create a small planting space. Be gentle to avoid damaging the cork.
- Plant the Succulents:
- Fill each hollowed-out cork with potting soil, leaving some space at the top for the succulent.
- Gently remove the small succulent plants from their nursery containers, taking care not to damage the roots.
- Place the succulent into the prepared hole in the cork, ensuring that the roots are covered with soil and the plant is secure.
- Secure the Succulents:
- If necessary, use the hot glue gun to secure the succulent in place within the cork planter.
- Apply a small amount of glue around the base of the plant to keep it from shifting.
- Care Tips for Succulents in Cork Planters:
- Succulents planted in cork planters require minimal watering. Allow the soil to dry out completely between waterings to prevent root rot.
- Place the cork planters in a location with plenty of indirect sunlight, as most succulents thrive in bright but not direct sunlight.
- Monitor the plants for signs of overwatering or under-watering, such as yellowing leaves or wilting.
- Incorporating Cork Planters into Home Decor:
- Cork planters can be displayed in various ways to add a touch of greenery to your home decor.
- Consider using them as refrigerator magnets by attaching small magnets to the back of each cork planter.
- Arrange multiple cork planters on a desk or shelf to create a miniature succulent garden.
- Get creative with embellishments like miniature figurines, colorful pebbles, or moss to enhance the visual appeal of the cork planters.
Hanging Macrame Planters
Transform your living space with hanging macrame planters! In this guide, we’ll show you how to craft these stylish plant holders, bringing nature indoors while adding a bohemian flair to your home decor.

Steps to Follow
- Measure and Cut the Cord
- Decide the length you want your macrame plant hanger to be. Consider how far you want your plants to hang and the space where you’ll be hanging them.
- Cut four equal lengths of macrame cord, each about 4-6 times the length you want your hanger to be. Adjust based on personal preference and space constraints.
- Prepare the Pot
- Choose a pot or container suitable for your plant’s size and drainage needs.
- Ensure the pot has drainage holes, or you can use a plastic liner with holes to prevent water from leaking onto your floors.
- Form the Basic Knots
- Take all four cords and fold them in half.
- Loop the folded end through the bottom of the pot, bringing it up about an inch.
- Tie a tight knot at the top to secure the cords and create a loop for hanging.
- Create the Macrame Pattern
- Separate the cords into pairs. You should have eight strands to work with.
- Using each pair of cords, create a square knot:
- Take the left cord of one pair and cross it over the two middle cords.
- Then, take the right cord of the same pair and pass it over the left cord, under the two middle cords, and through the loop created by the left cord.
- Pull both cords tight to form a knot.
- Repeat this process with each pair of cords, alternating left and right, until you reach the desired length for the hanger.
- Insert the Pot
- Once you’ve reached the desired length, place the pot into the macrame holder.
- Adjust the knots as needed to ensure the pot is secure and centered within the holder.
- Add the Plant
- Carefully place your chosen plant into the pot, ensuring it’s properly seated and not too top-heavy for the hanger.
- Adjust the macrame knots as needed to support the weight of the plant.
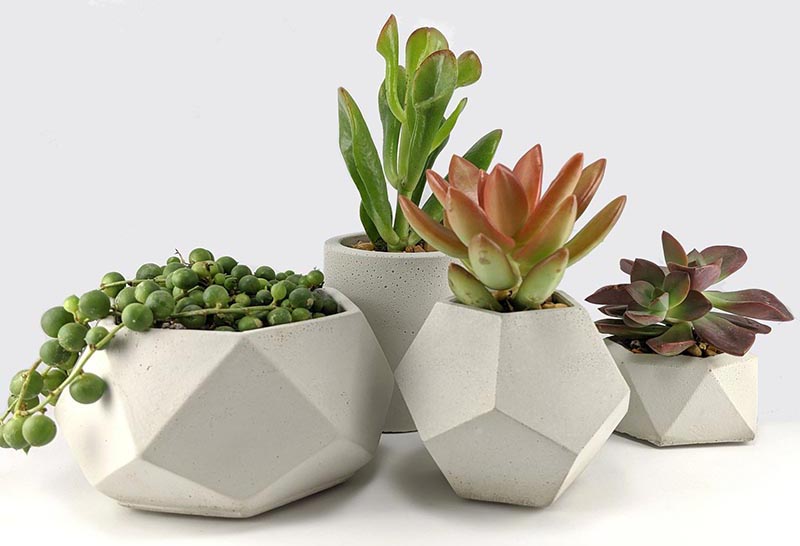
Geometric Concrete Planters
Introducing geometric concrete planters: a modern twist on traditional gardening. Learn how to craft these sleek, minimalist accents using basic materials and simple techniques. Perfect for adding contemporary flair to indoor and outdoor spaces, these DIY planters are versatile, durable, and sure to elevate your home decor.

Steps to Follow
- Prepare Your Workspace
- Set up your workspace in a well-ventilated area and protect surfaces with a drop cloth or newspaper.
- Put on your protective gear, including gloves, a mask, and goggles, to protect against concrete dust and splashes.
- Mix the Concrete
- Follow the instructions on your concrete mix packaging to mix the appropriate ratio of concrete and water in a mixing container.
- Stir the mixture thoroughly until it reaches a smooth, pourable consistency, similar to thick pancake batter.
- Prepare the Molds
- Choose your geometric molds, such as cardboard or plastic shapes. You can find these at craft stores or create your own using sturdy materials.
- Line the inside of the molds with plastic wrap or cooking spray to prevent the concrete from sticking.
- Place the molds on a flat surface, ready for pouring.
- Pour the Concrete
- Carefully pour the mixed concrete into the prepared molds, filling them to the desired height.
- Tap the molds gently on the surface to release any air bubbles and ensure the concrete settles evenly.
- Shape and Design
- Use a trowel or stick to smooth the surface of the concrete and shape any edges or corners as desired.
- To achieve different geometric shapes and designs, experiment with layering concrete in multiple pours, using different molds, or adding texture with tools before the concrete sets.
- Cure the Concrete
- Allow the concrete to cure in the molds for the recommended time according to the instructions on the packaging.
- Keep the molds in a cool, dry place and cover them with plastic or a damp cloth to prevent them from drying out too quickly.
- Remove the Planters from the Molds
- Once the concrete is fully cured and hardened, carefully remove the planters from the molds.
- If the planters are stuck, gently flex or tap the molds to loosen them, being careful not to damage the concrete.
Why Choose These 5 Creative DIY Planters
Choosing creative DIY planters adds personality and uniqueness to your indoor garden. By crafting your own planters, you can upcycle materials, express your style, and tailor designs to fit your space perfectly. It’s a fun and rewarding way to enhance your home while nurturing your green thumb.